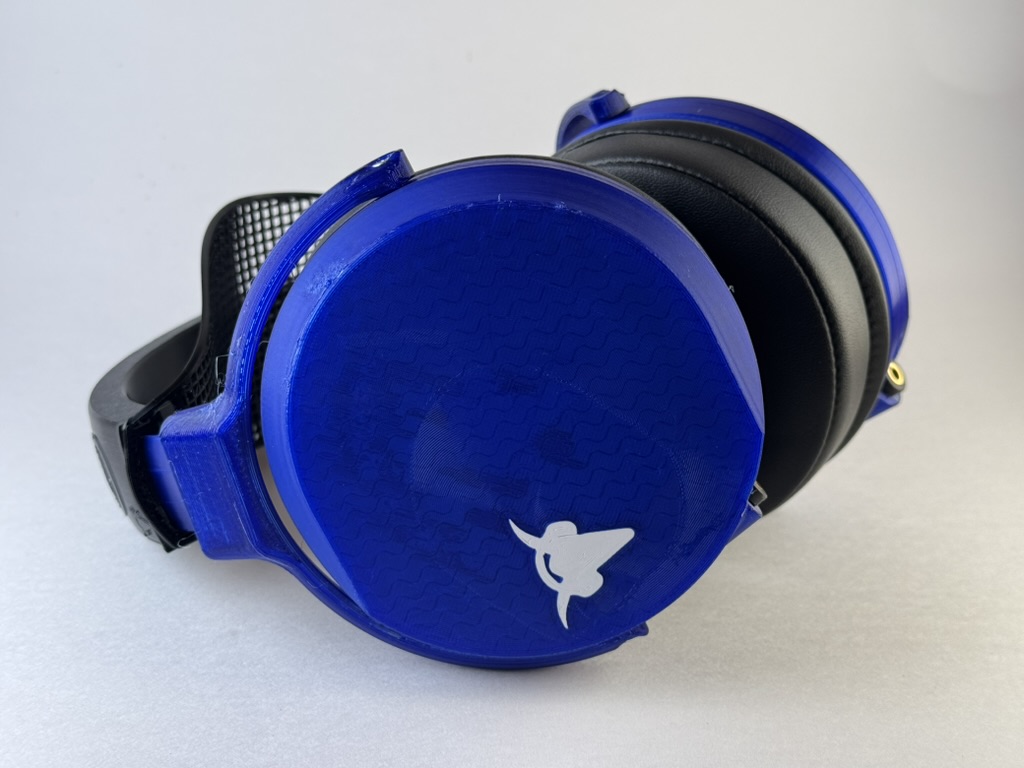
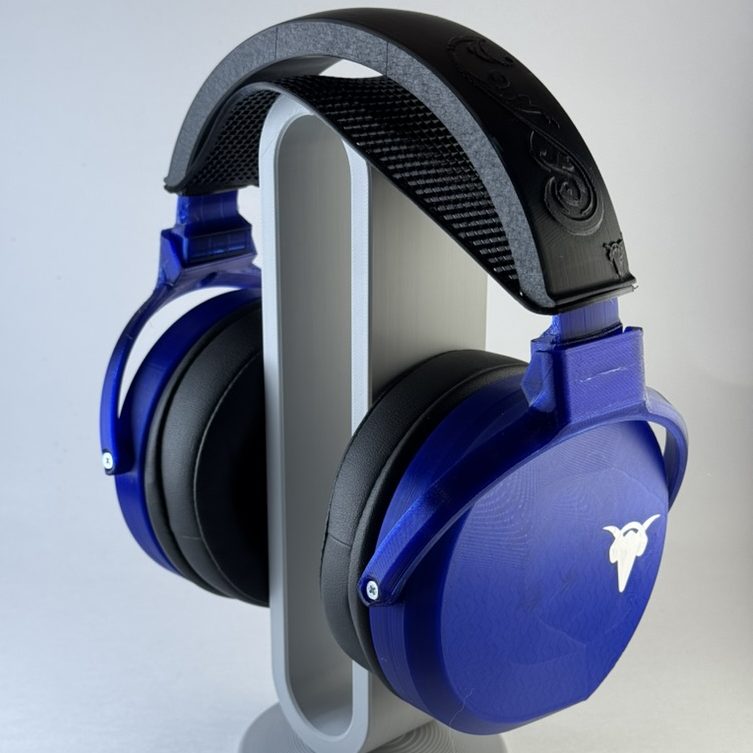
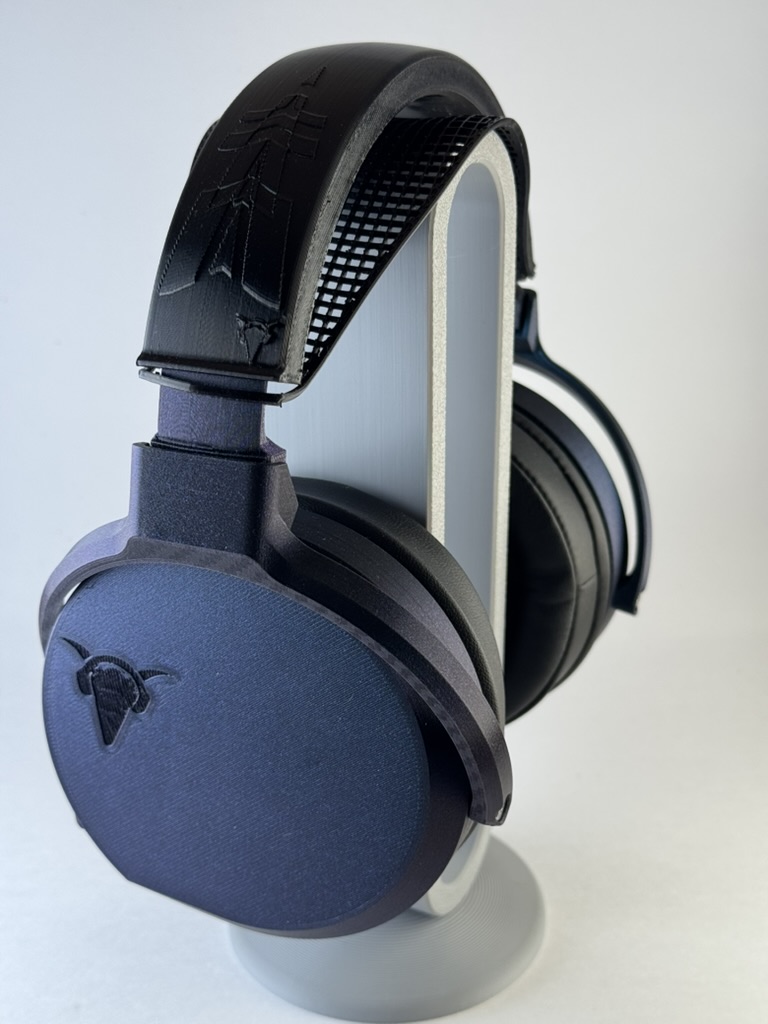
A year ago, like a number of folks I saw Listener on the Headphone show wax poetic about how great a custom modded Capra Ouroboros that Golem provided to him was, and got curious about how to make that modded headphone. Golem has talked about it on Capra Audio’s Discord and provided a basic overview of the changes, but hasn’t yet made it into a Github post. I built a pair a few months ago, and … damn. I’m a closed back skeptic in a lot of ways (there are VERY few closed backs that I genuinely love), but this one just works for me. I tend to agree more with Resolve than Listener on most headphones, but he nailed this one. I’ve made a number of pairs of DIY headphones, and these are my favorite.
This came up again on Reddit a month ago and after I mentioned how much I like them, some folks asked how to build the Golem mod, so I reached out via Discord and asked them if they’d be cool with me building one and making a post about it, and they graciously agreed. So here goes! [I’ll do a review of them at some point, but for today, just the build!]
Caveat: I didn’t design anything about this. Full credit to Brian at Capra Audio for his contributions to this community (both this headphone and everything else he does) and to Golem for their painstaking tuning adjustments. My sole contribution to this is swapping in JST connectors for convenience of assembly and reassembly, and that’s just taking Brian’s great work on the Satyr 3 and applying a couple of lessons learned the hard way.
If you have questions or concerns or need some help with troubleshooting, the Capra Audio Discord server is a great place to get some information or help. You get join it here. Brian’s original building instructions (for the non-Golem mod Ouroboros) are here and the video is here, both are great resources if you’re trying to figure out where something goes.
[I have video playlists of the Recon 500 teardown and Ouroboros builds on Youtube.]
Bill of Materials

- Full printed Ouroboros.1 Unless otherwise noted, printed in PLA with 15% gyroid infill, 3 walls, and a .16 layer height.
- 1 right2 earcup (3.5 mm version)
- 1 left3 earcup (3.5 mm version)
- 2 x driver mount
- 2 x pad mount
- 2 x driver grill
- 2 x baffle retention plate
- 2 x TPU gasket, printed at 100.2% and 100% infill, with .1 mm fuzzy skin on contour [Golem wasn’t sure this matters but it’s how he (and I!) did it.]
- IF you’re using the Capra Headband:
- A headband assembly. I recommend the Capra Headband v3,6 so here are the pieces I would recommend:
- 1 x TPU band (any style)
- 1 x TPU Capra Comfort Strap
- Either7:
- 2 x adjustment arms (static)
or - 2 x adjustment arms (folding) AND 2 x pivot block
- 2 x adjustment arms (static)
- All of the components from the Ouroboros bill of materials here and the Capra Headband v3 materials here except8:
- Nylon mesh (‘tea bags’)
- Additional things not on the Ouroboros BOM:
- A pair of Turtle Beach Recon 500 gaming headphones (unless you have managed to source the drivers elsewhere)
- Y2 tuning sticker9
- 3 grams of Polyfill (aka teddy bear stuffing)
- Dekoni attenuation rings10
Assembly
This is a four stage assembly process. First we prepare the driver, then we do our soldering, then we prep the cups and grills, then we assemble the cups, and then we finally assemble the whole headphone.
Prep the Driver:
Important to remember for all steps involving the drivers: the thin material over the front of the drivers is easily damaged or dented, and even small dents can affect the frequency response. Be careful while handling them; if you inadvertently damage them there are some ways to try to fix it but I have no personal experience with that.
- If you haven’t already, shuck the drivers out of the Turtle Beach Recon 500s.
- Remove wires between the inner and outer speakers.
- Remove the capacitor (careful not to rip off the solder pads)
- Place a Y2 tuning sticker over the rear driver vent on both drivers (circled in red).

Solder/Insert Wires
Soldering irons are hot. Please be careful with them, and be aware of your surroundings. I personally prefer soldering on a silicon mat; it won’t entirely save me from myself but makes me worry a lot less about random bits of solder falling off and lighting things on fire.
- On each of the two 3.5 mm headphone jacks, bend long pin and bridge to negative terminal (if you are looking down at the jack with the prongs aimed away from you, the negative is on the left).
- The smaller JST connector’s wire solders to the headphone jack:
- Solder red cable to the positive terminal.
- Solder black cable to the bridged negative/ground
- The bigger JST connector’s wire solders to the driver (try not to solder these too flat and straight out; if you do, they can pop off when you insert the driver in the driver mount in step 6; generally you want the wires to route to either side of the driver).
- Solder black cable to the left of PCB
- Solder red cable to the right where capacitor used to be connected.
- Being careful not to touch the face of either driver, connect the JST connections together and plug a headphone cable into both. Play a signal to test that both drivers work.
- [If you’re me, realize that the soldering is bad somewhere and redo steps 1-4 at least once and as many as three times. Good luck!]
- Place the driver in the driver mount.


Prep the Cups and Grills:
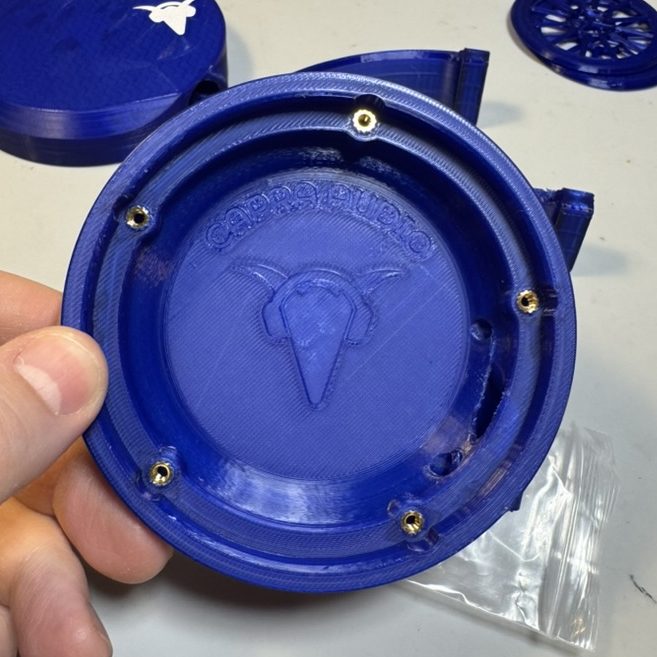
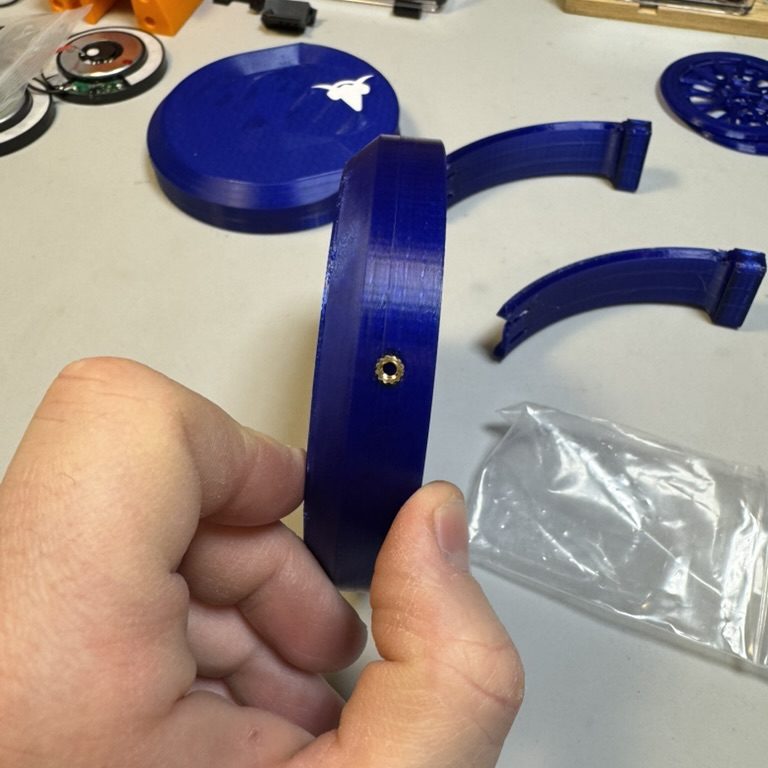
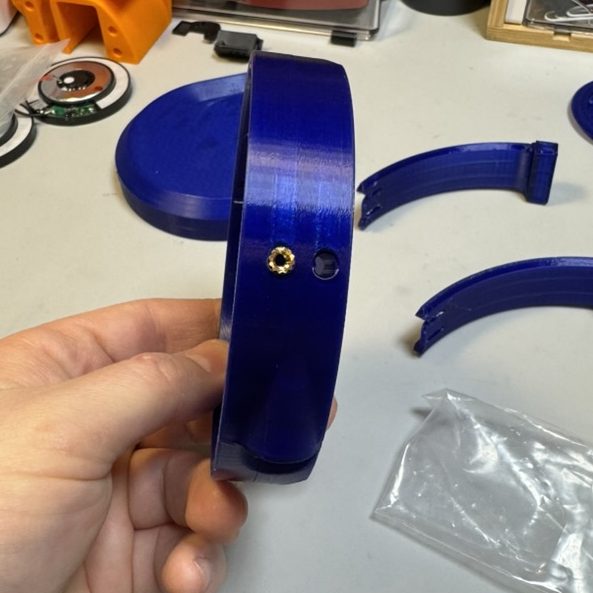

- While the soldering iron is hot, set 5 Voron inserts into the housing on the right ear cup. Insert flush with the inner surface, with the screw cavity pointing straight down (if you don’t get them flush, the gasket won’t fit properly and it may cause leakage/frequency shifts). Repeat with the left housing.
- Insert two additional Voron inserts into the yoke connectors on either side of the cups (on the back of the cups, it’s the hole closest to the inside of the headphone; the other is the tuning port and for this mod we leave the tuning port empty.)
- [Not required unless you’re using the Capra Headband v3: insert an additional Voron insert into each of the attachment arms while the soldering iron is still hot. If you’re using the folding arms, well, follow those instructions from Brian (it just requires additional Voron inserts into the pivot blocks).]
- Insert the jacks into the cups, running the connector and the wire through the internal ducts and into the main chamber. [You will need to super glue these at some point both for stability AND to get a good airtight seal for acoustic reasons; I would recommend holding off on that until you’ve gotten the whole assembly together and have verified it works; once you super glue the jacks you’re not getting them out without destroying the plastic.]
- Cover the grills with micropore tape. The pattern is acoustically significant; you want to leave the center ring empty, and then alternate covering every other triangle on the outer ring with micropore.
There are a couple of ways to do this:
- Use a laser to cut triangles (probably stuck temporarily on wax paper)
- Manually cut triangles with a craft knife or something similar
- Cover the entire ring with tape and then use a craft knife to cut out the middle and the empty triangles out.
I did it the last way, and the result is a little bit of damage to the grill itself where I cut too deep; I don’t think it damaged the sound of my Ouroboros at all, but your mileage may vary.
Assemble the Cup
- Place 1.5 grams of polyfill into the right housing, teased as loose as possible to fill the chamber fully.
- Insert speaker assembly into gasket, routing the big JST cable through the center hole. Connect the JST cables, and loosely coil the connected cable to avoid pinching it.
- Insert gasket into the ear cup, lining up the bulges.
- Place the driver grills over the drivers, with the flatter side up.
- Place the baffle retention ring over the driver grills inside the gasket/housing. This should neatly friction fit.
- Place Pad Mount over baffle, and screw down with five M3 x 16 mm screws. Tighten in a star pattern for even pressure. Snug but not too tight.
- Repeat with the left housing.
Assemble the Unit and Attach the Headband
- Stack the tuning foam and the attenuation rings on top of the pad mount (the thin side/notch on the rings faces the front of the headphone, i.e. away from the headphone jack).
- Put on the pads over the foam and attenuation rings.11
- Screw the yokes onto the housing.
- Screw the yokes onto the attachment arms.
- Slide the comfort strap over the attachment arms, and then insert the attachment arms into the TPU band.
The magic of the Capra Headband v3 is in its simplicity. If you’ve already inserted the Voron inserts into the adjustment arms and yokes as part of the cup/driver prep, simply screw the attachment arms to the yokes and the yokes to the inserts on the outside of the housings. Slide the attachment arms’ business ends through the Capra comfort straps and insert into the the TPU headband and voila! Instant headphone.
Get to Listening

Now test it! If it works correctly, go back and superglue the headphone jacks into the housing (careful not to drip superglue anywhere else), and let cure according to the directions on the packaging. If you try to use them right away, you might accidentally rip out the jacks and screw up the soldering. Or so I’ve heard. Definitely haven’t done that. Twice.
Final Thoughts
Congrats, you’ve now made arguably my favorite closed back headphone, and definitely my favorite 3D printed headphone! Enjoy, and join the Capra Discord server and show it off.
- I personally like the older version of the cup with the Capra logo rather than the smooth one to attach a fascia to; you can also take the new cup and add the Capra logo as a void or a different filament. ↩︎
- Unbelievably, I’ve screwed this up three or four times and ended up with two right or two left ear cups. ↩︎
- Seriously, make sure they’re not identical BEFORE you start to build. ↩︎
- Seriously make sure they’re not the same. ↩︎
- For serious. ↩︎
- I used the v2 headband on my first Ouroboros, and while it’s a cool system it’s way more of a pain in the ass to build than the v3. ↩︎
- The folding version honestly feel a little less stable to me and I don’t take these out in the world, so I use only the static arms. ↩︎
- Please use Brian’s affiliate links; the man did a yeoman’s job with these headphones and everything he does for the community and we should support him. ↩︎
- This is a giant pain in the ass to source. For my first Ouroboros I found Y2 tuning paper on Amazon and painstakingly cut micropore tape rings to attach them; for the second, I ordered a giant set of tuning stickers from Ali Express. ↩︎
- You can also print these in a pinch; no idea if or how they affect the tuning but my Ouro use the printed ones and I really love the way they sound. I’m putting the real ones in my second version. ↩︎
- Golem puts it this way: stacking order is pad mount –> tuning foam –> attenuation rings –> pads. ↩︎

Leave a comment